%20(1).jpg)
Connect Flappie to Wi-Fi and the appUpdated 2 months ago
Important: connect first, install afterwards
Set up Flappie as a function test near the planned installation location. This checks the device, Wi-Fi and app before drilling. Allow about 20 minutes including account creation and email confirmation.
What you need
- A smartphone with the Flappie app for iPhone or Flappie app for Android
- Your Flappie account and access to your email inbox
- A 2.4 GHz Wi-Fi network and its password
- WPA2 or WPA3—both are supported
- Bluetooth enabled on the smartphone
- A power outlet near the planned installation location
The screenshots show the English app. The steps are the same in all available languages. Tap an image to open it at full size.
1. Start setup and confirm the location
After logging in, start with Set up Flappie. If you skipped setup, go to the gear icon → Device Management → Add Flappie. Read the camera notice and confirm the approximate location used for the time zone and regional features.
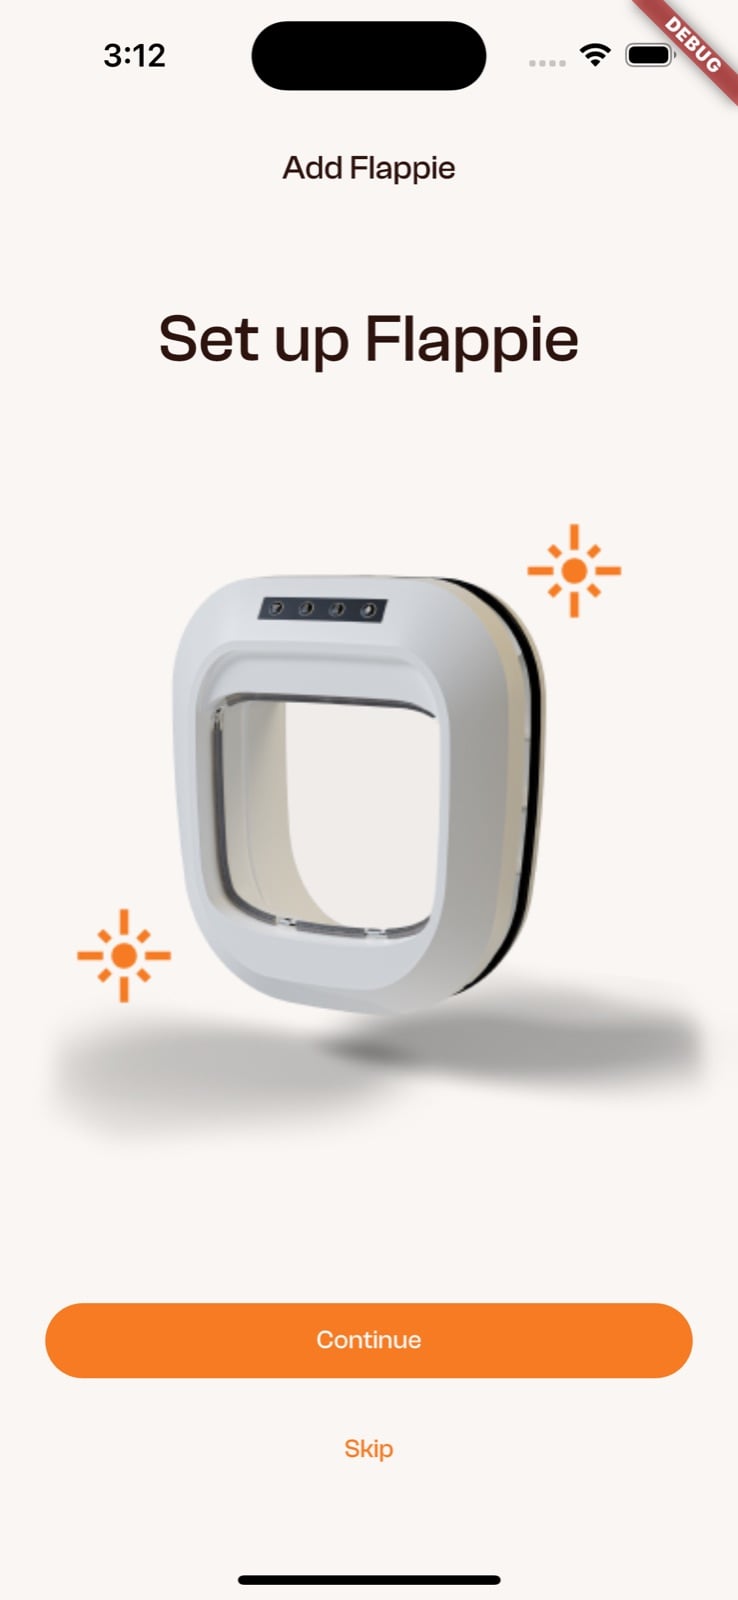
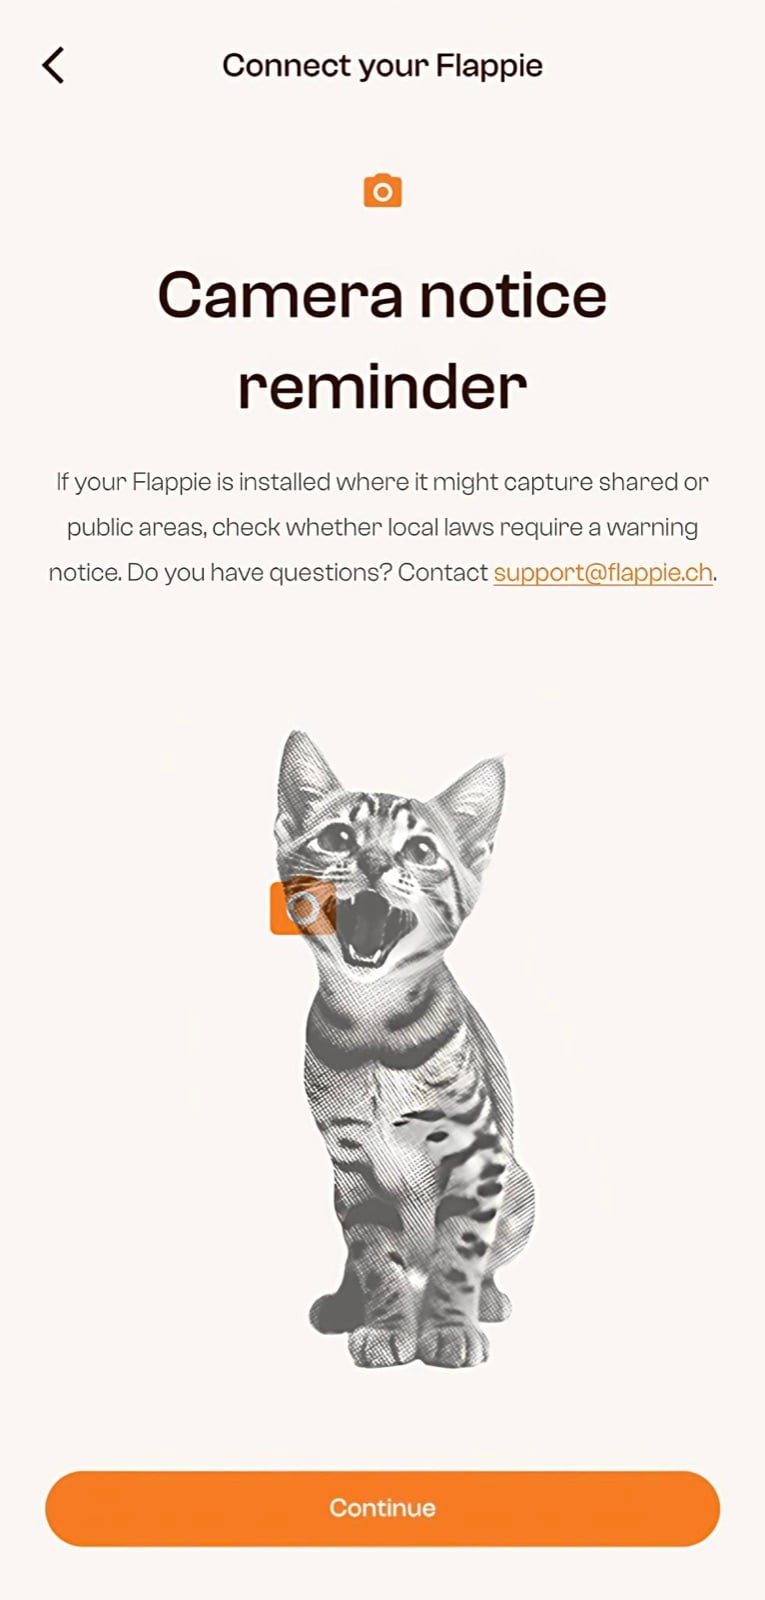
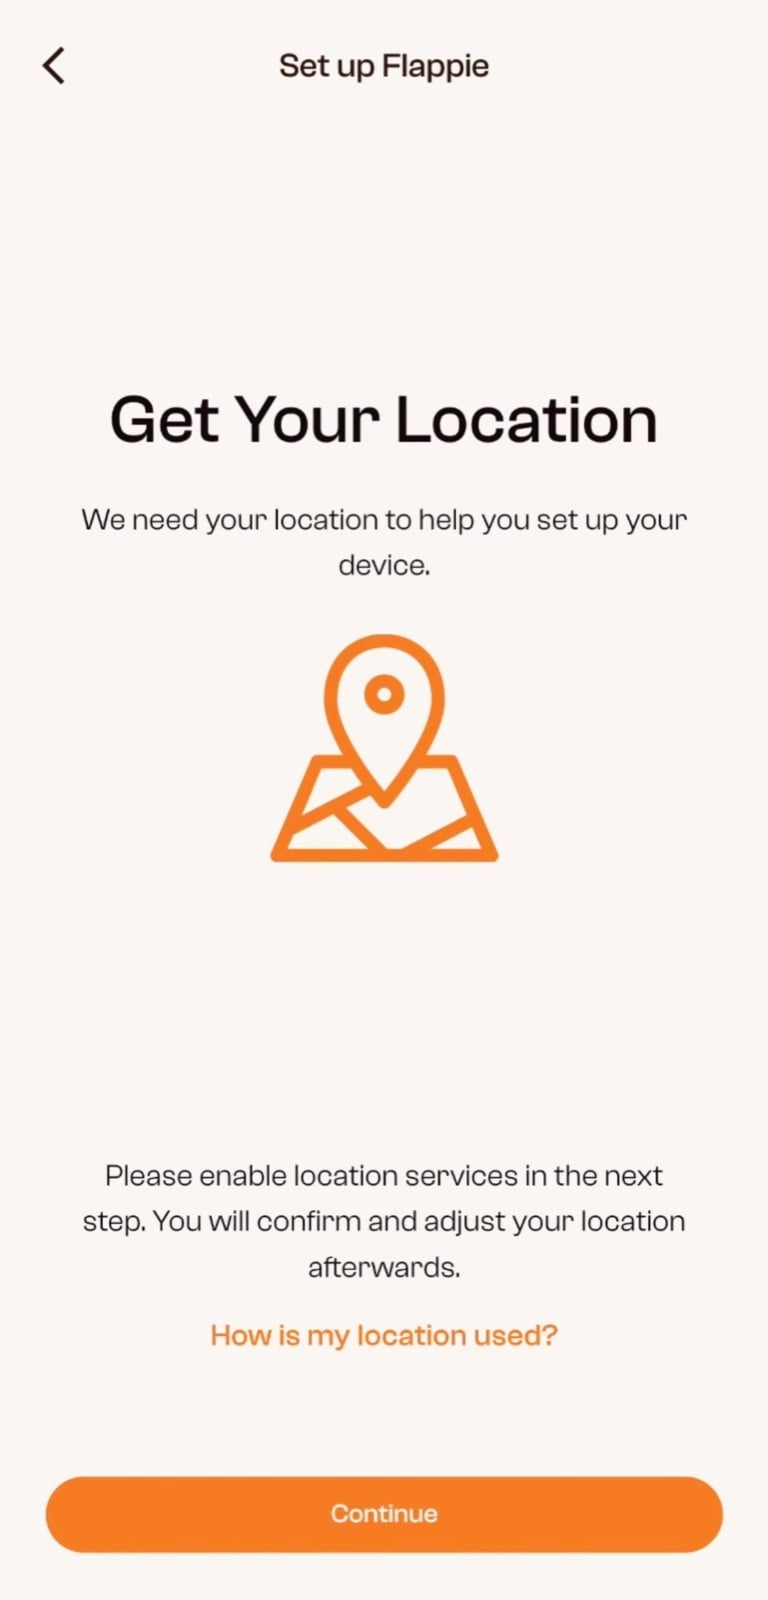
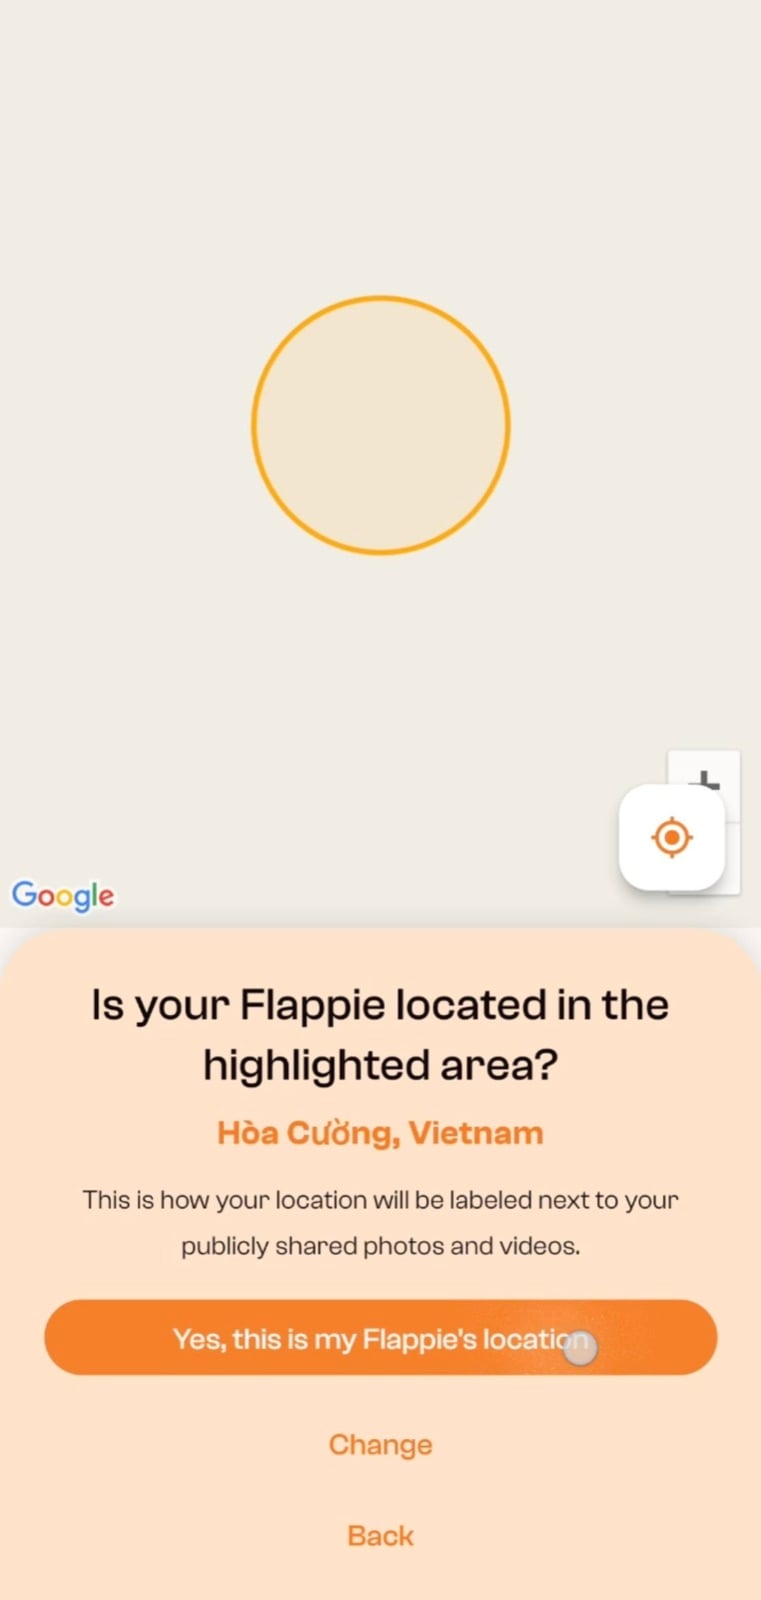
2. Prepare Wi-Fi and Bluetooth
- Select the 2.4 GHz network. This is the longer-range Wi-Fi used by many smart-home devices. If your router shows only one network name, try that network first. A 5 GHz-only network will not work.
- Many routers broadcast 2.4 and 5 GHz under the same name. If connection fails, temporarily separate the bands or create a dedicated 2.4 GHz smart-home network.
- Check capitalization, spaces and similar characters such as O and 0.
- Bluetooth is used only to transfer the Wi-Fi details from the smartphone to Flappie.
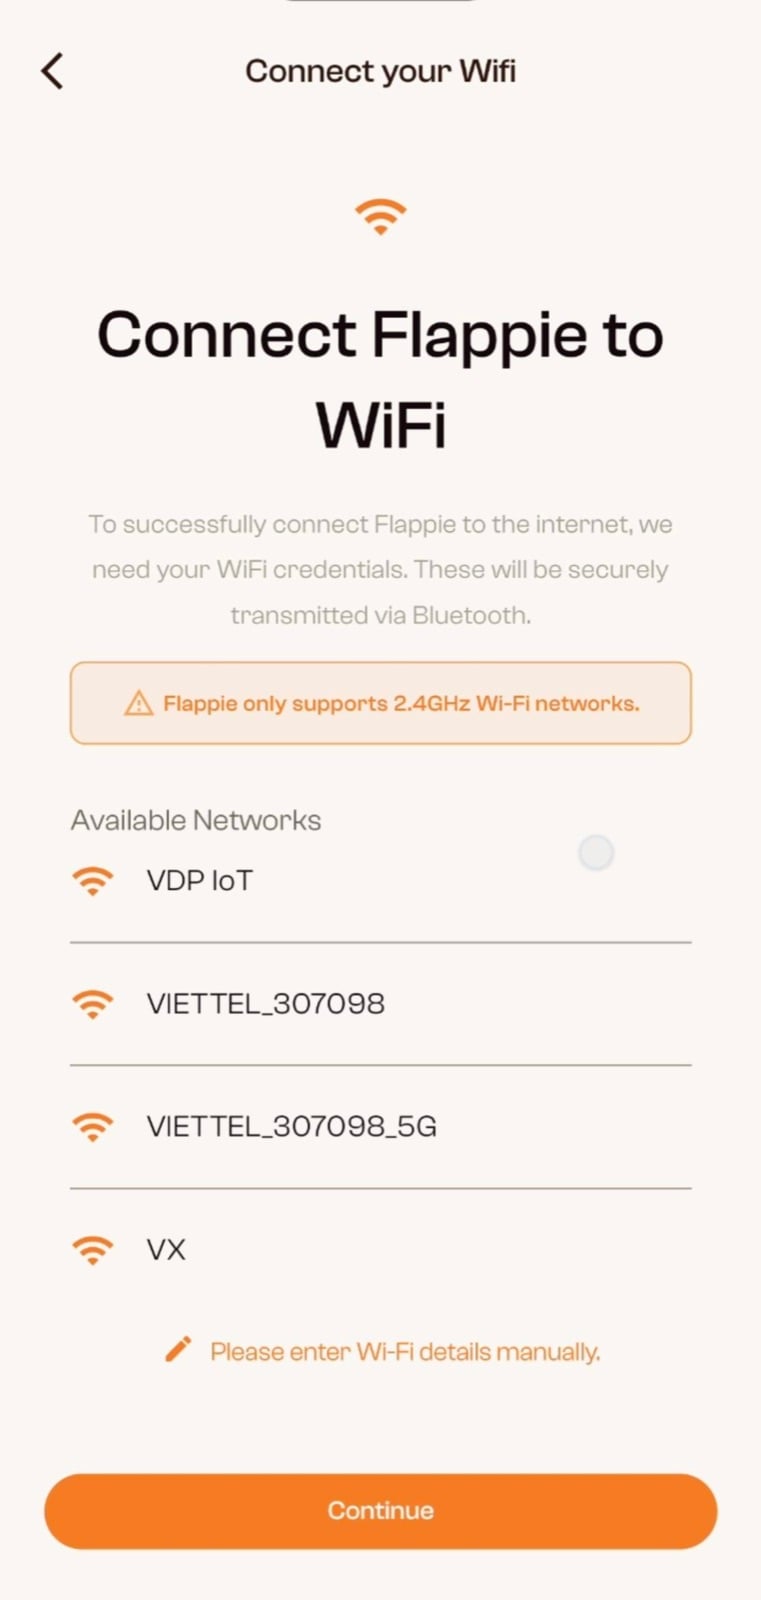
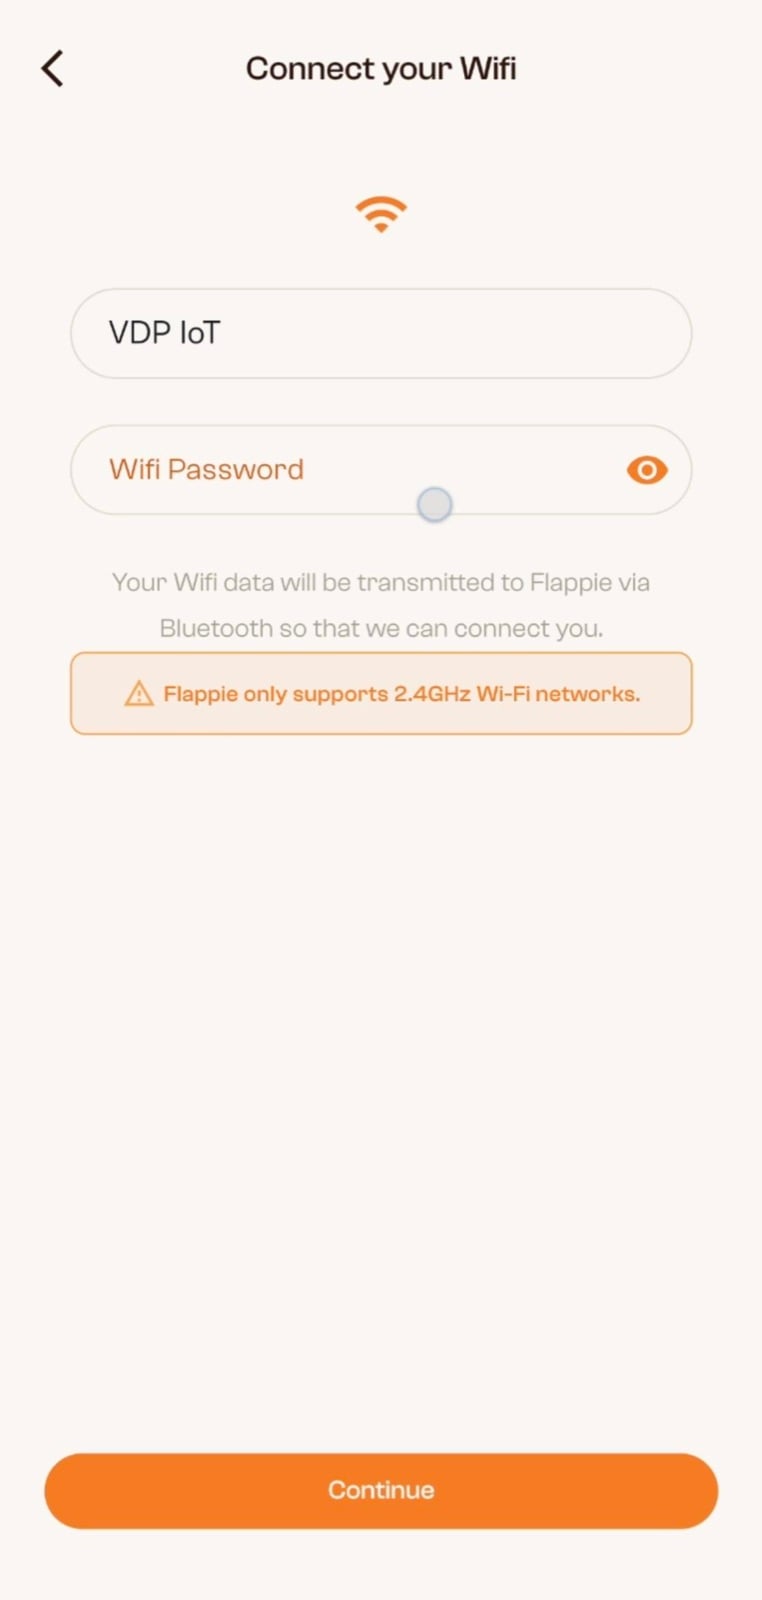
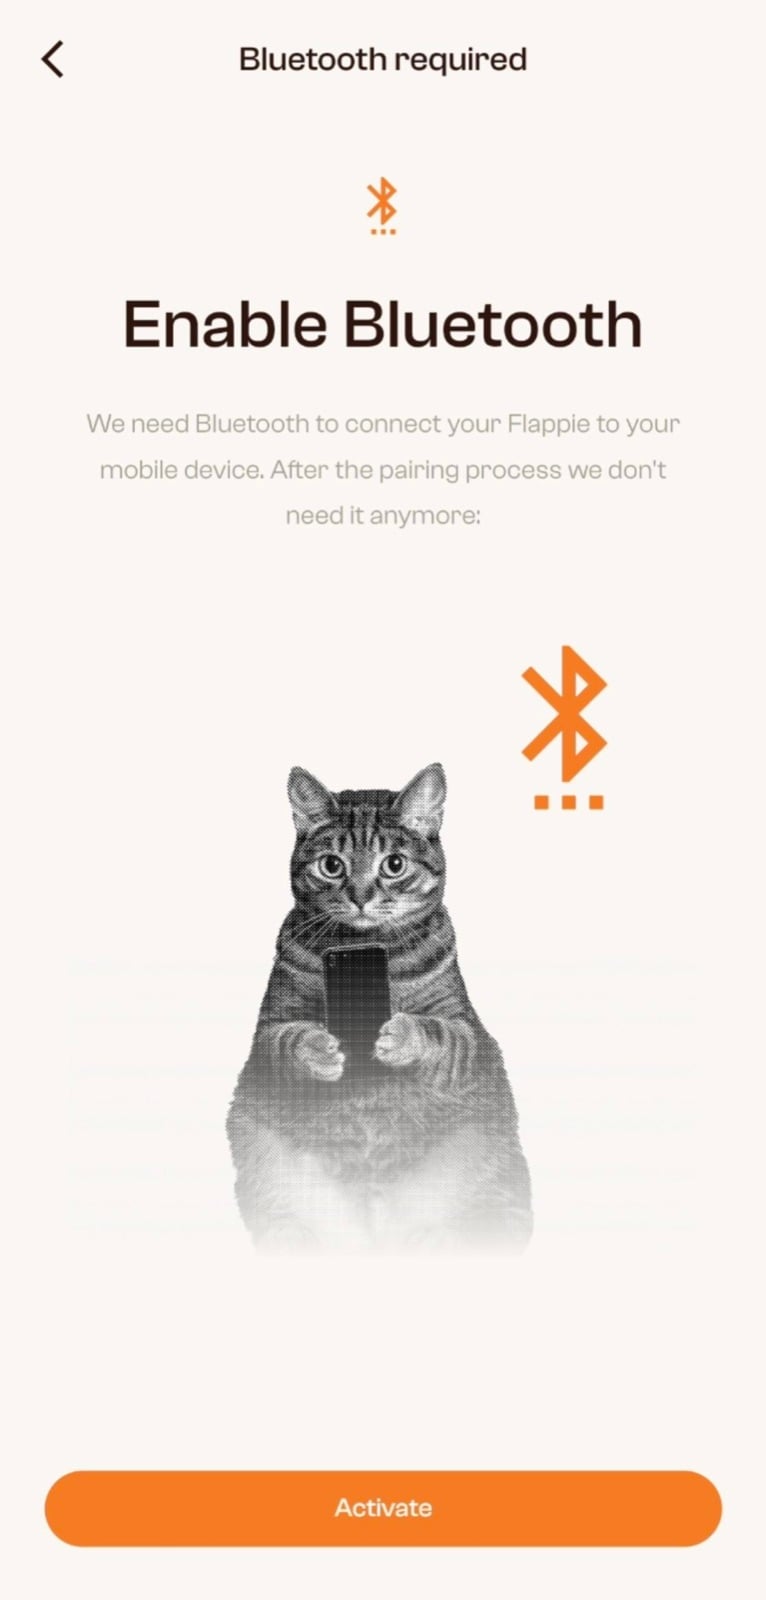
3. Pair Flappie
- Connect power. Keep the power adapter indoors.
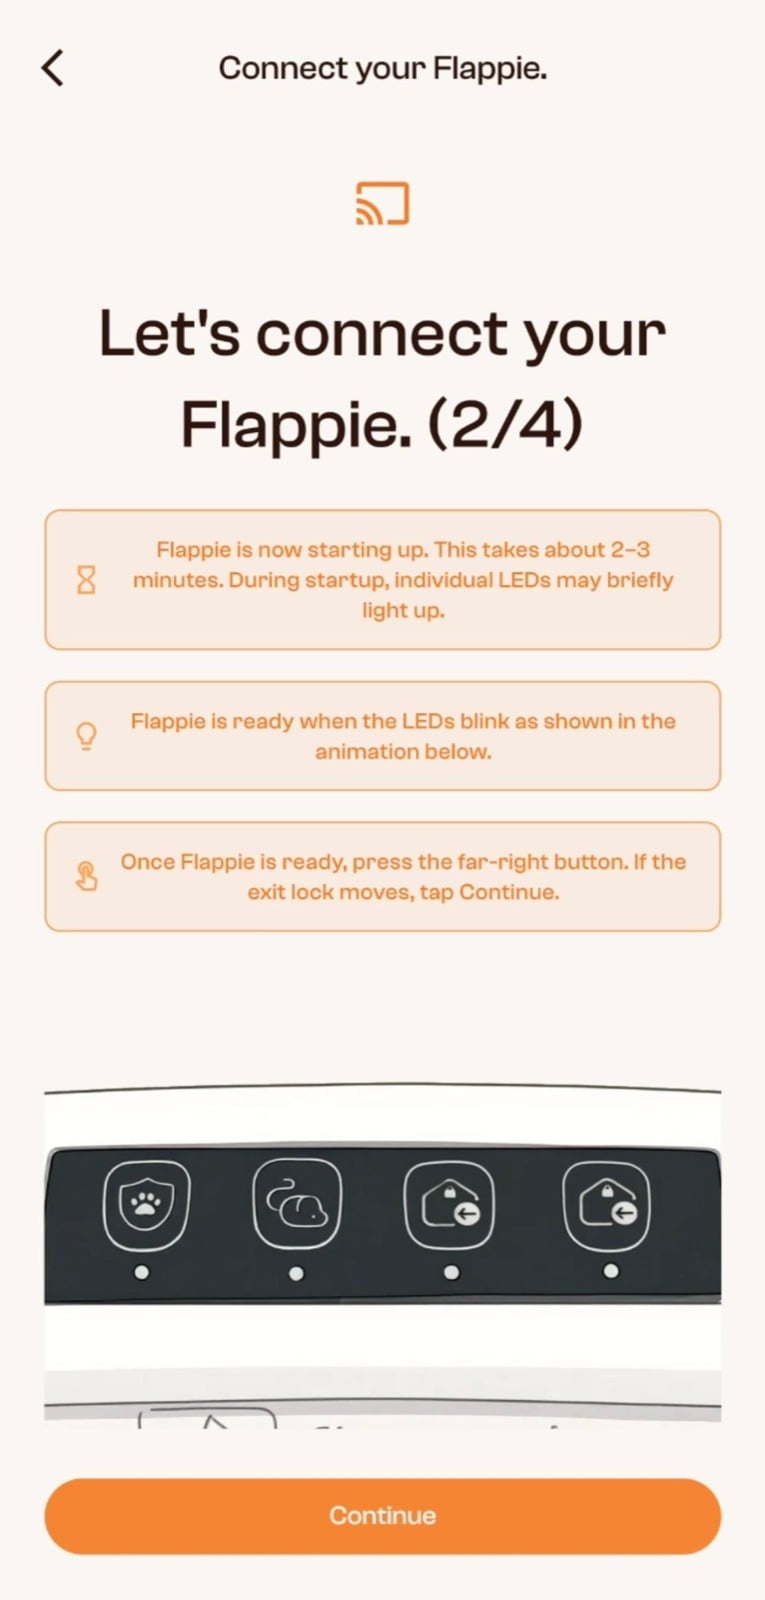
- Wait about three minutes. Do not press any buttons during boot. Flappie is ready when all four LEDs blink twice in a line. To check, press the far-right button: if the exit lock moves, the device is ready.
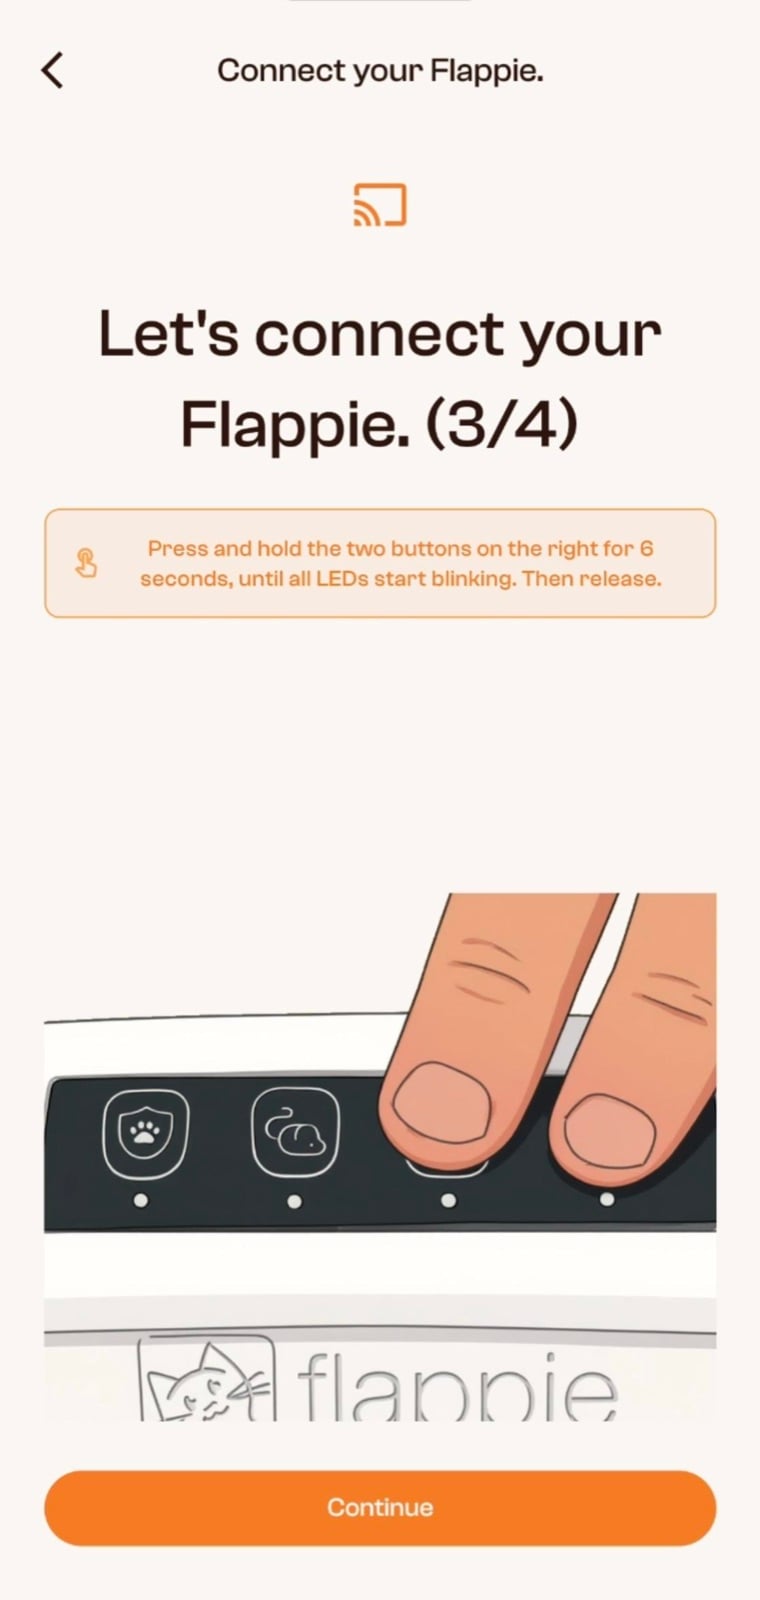
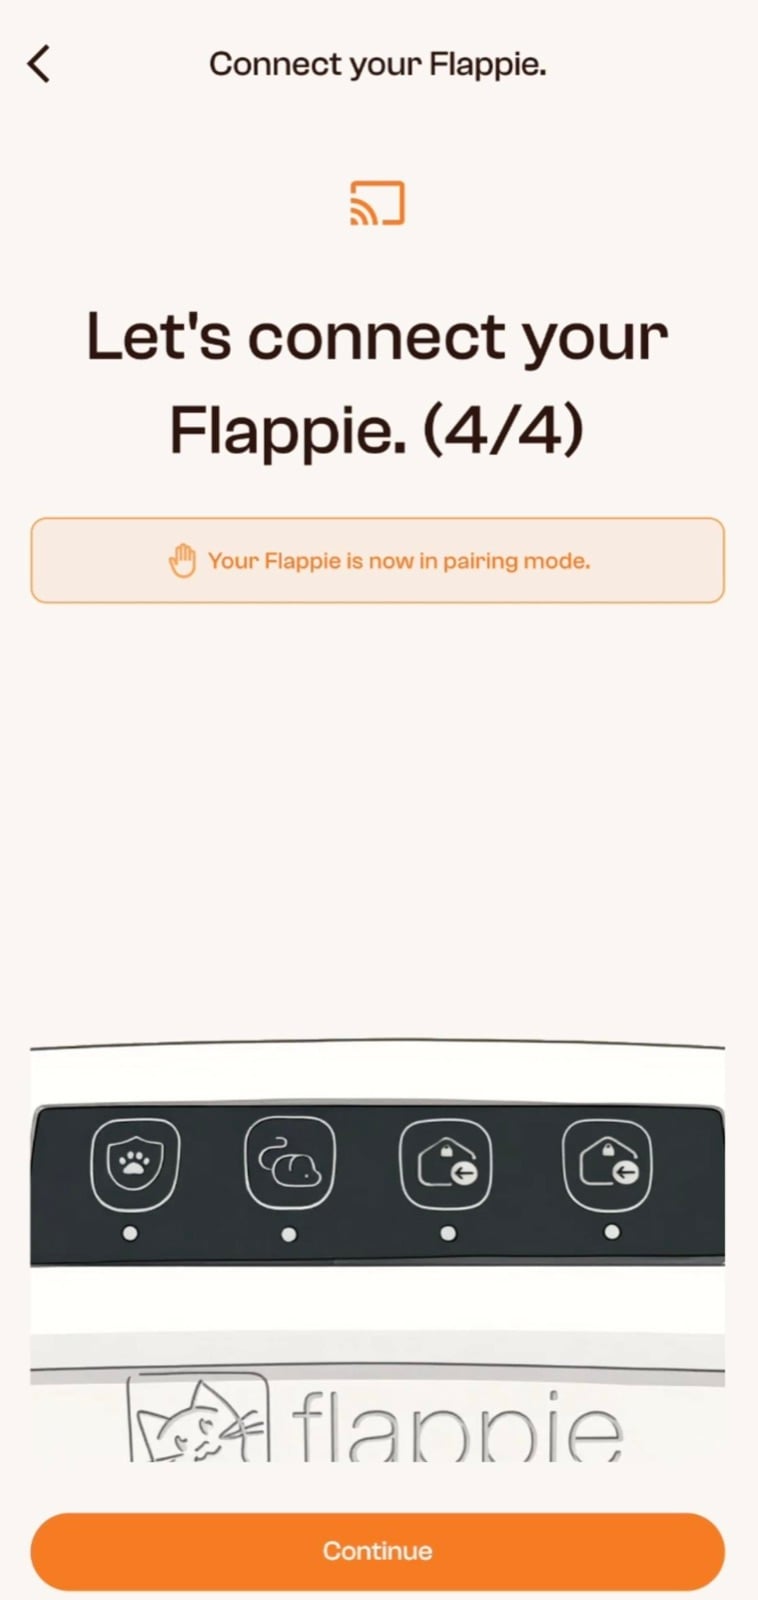
- Start pairing mode. Hold the two right-hand buttons for about six seconds until all LEDs flash, then release them.
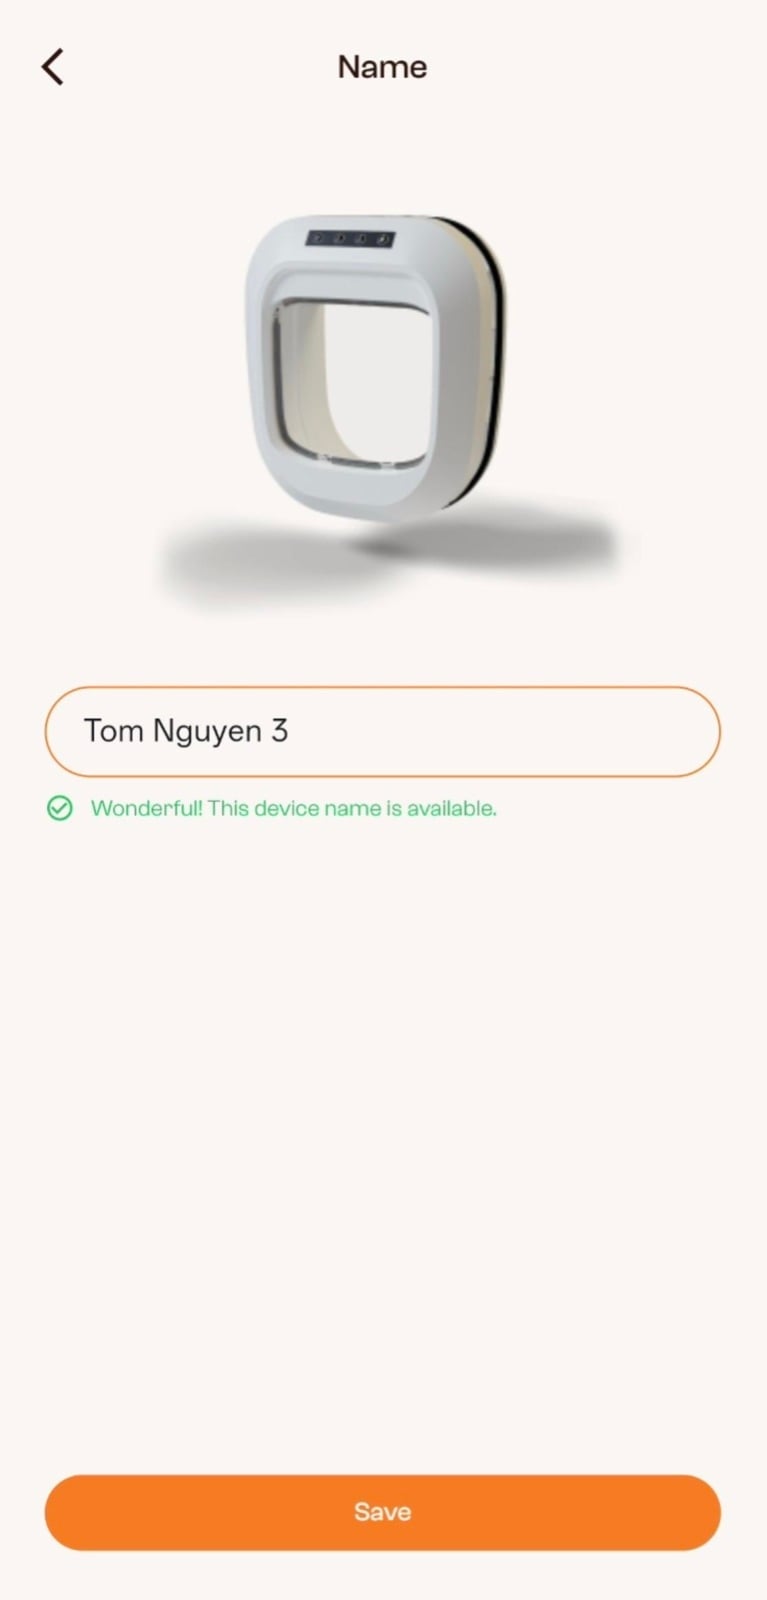
- Select it in the app. Choose the detected “Catflap” using its device number and wait until “Setup Complete” appears.
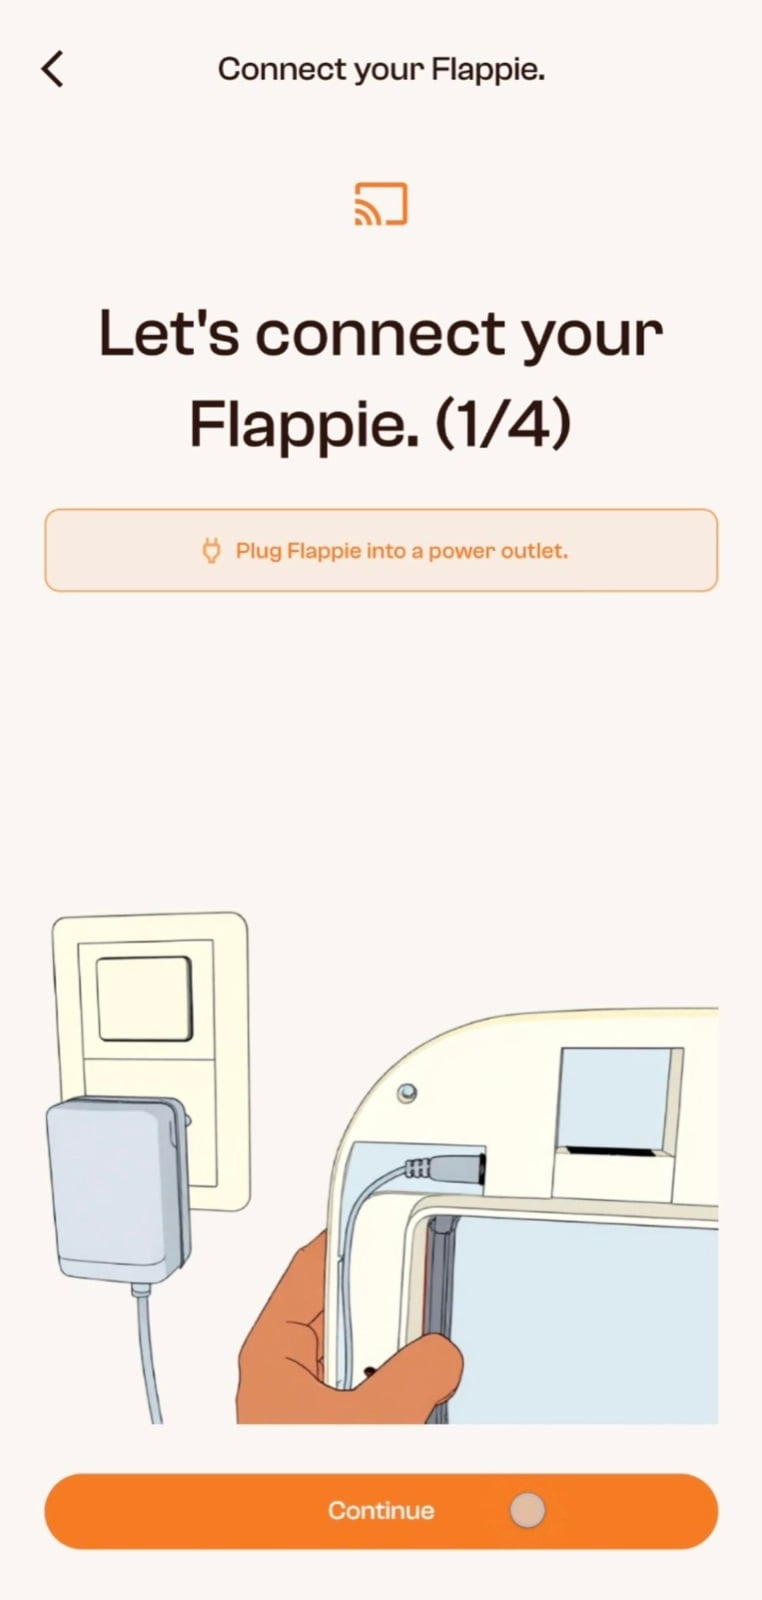
4. After “Finish pairing”: install and complete setup
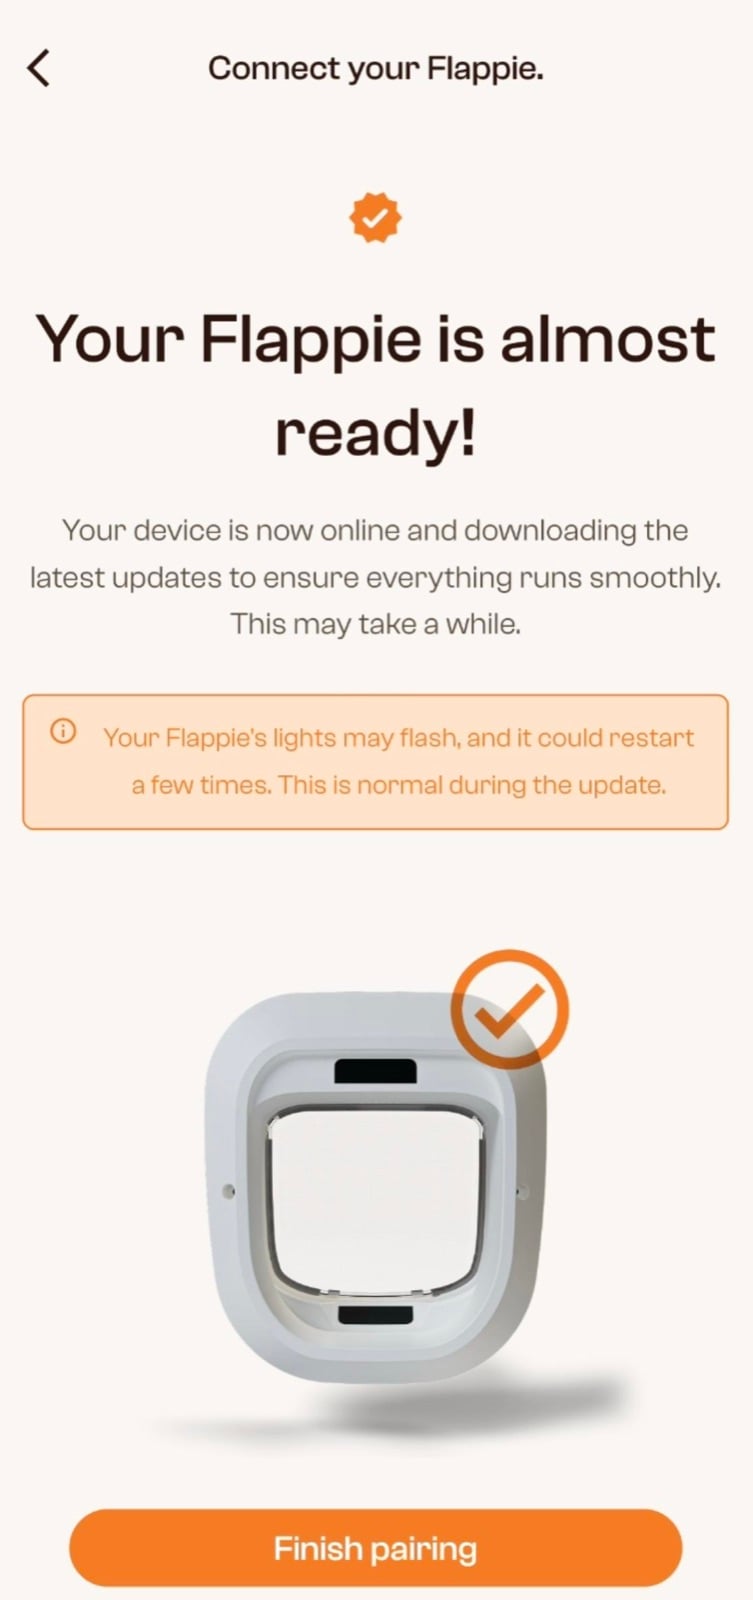
Pull the ribbon-cable connector straight up from the inside unit and install Flappie. Pairing, Wi-Fi and settings remain saved. After installation, reconnect the cable with the red stripe on the left and reconnect power. Flappie boots for about three minutes, reconnects automatically and downloads the update by itself. This can take up to one hour.
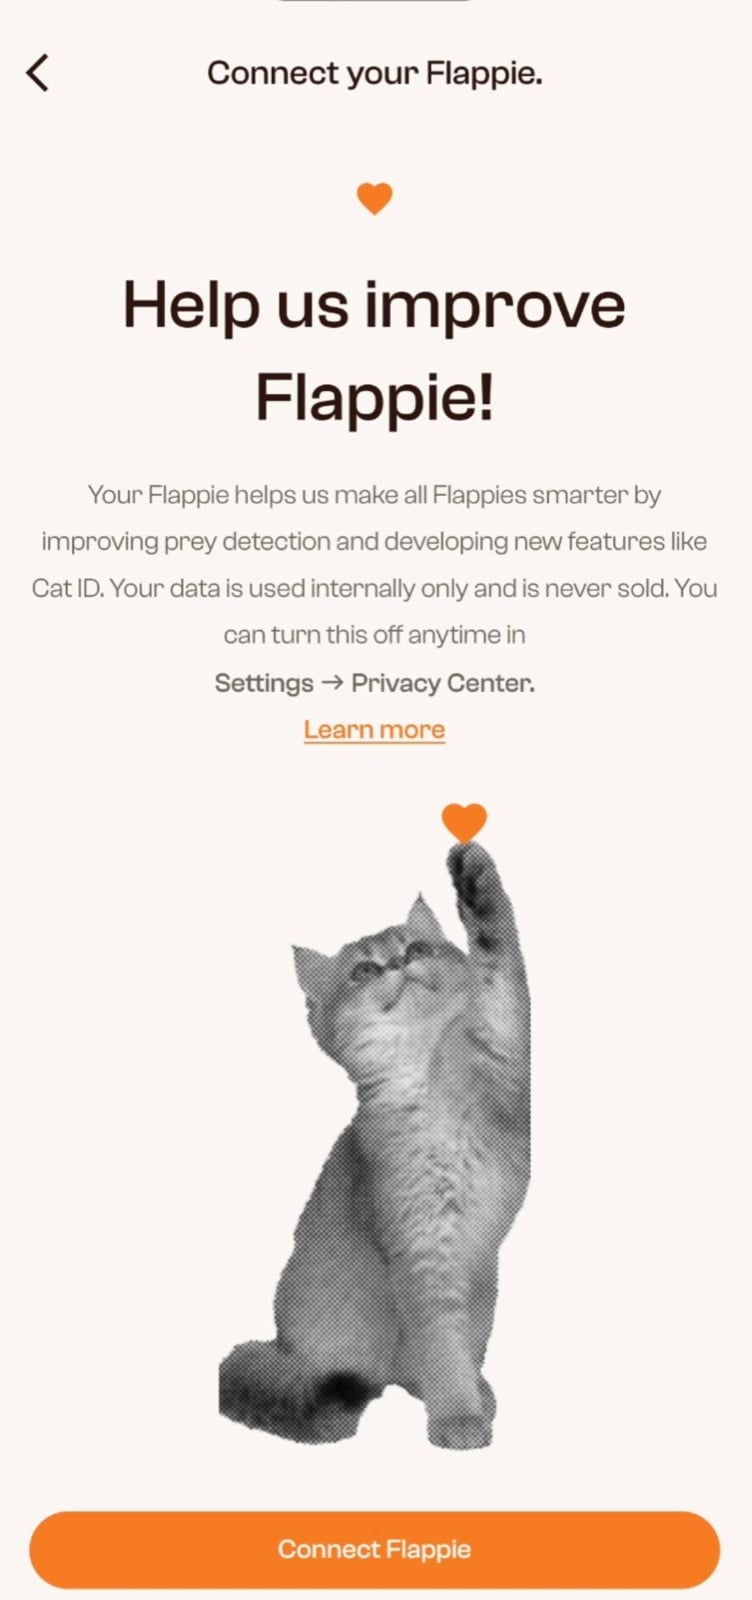
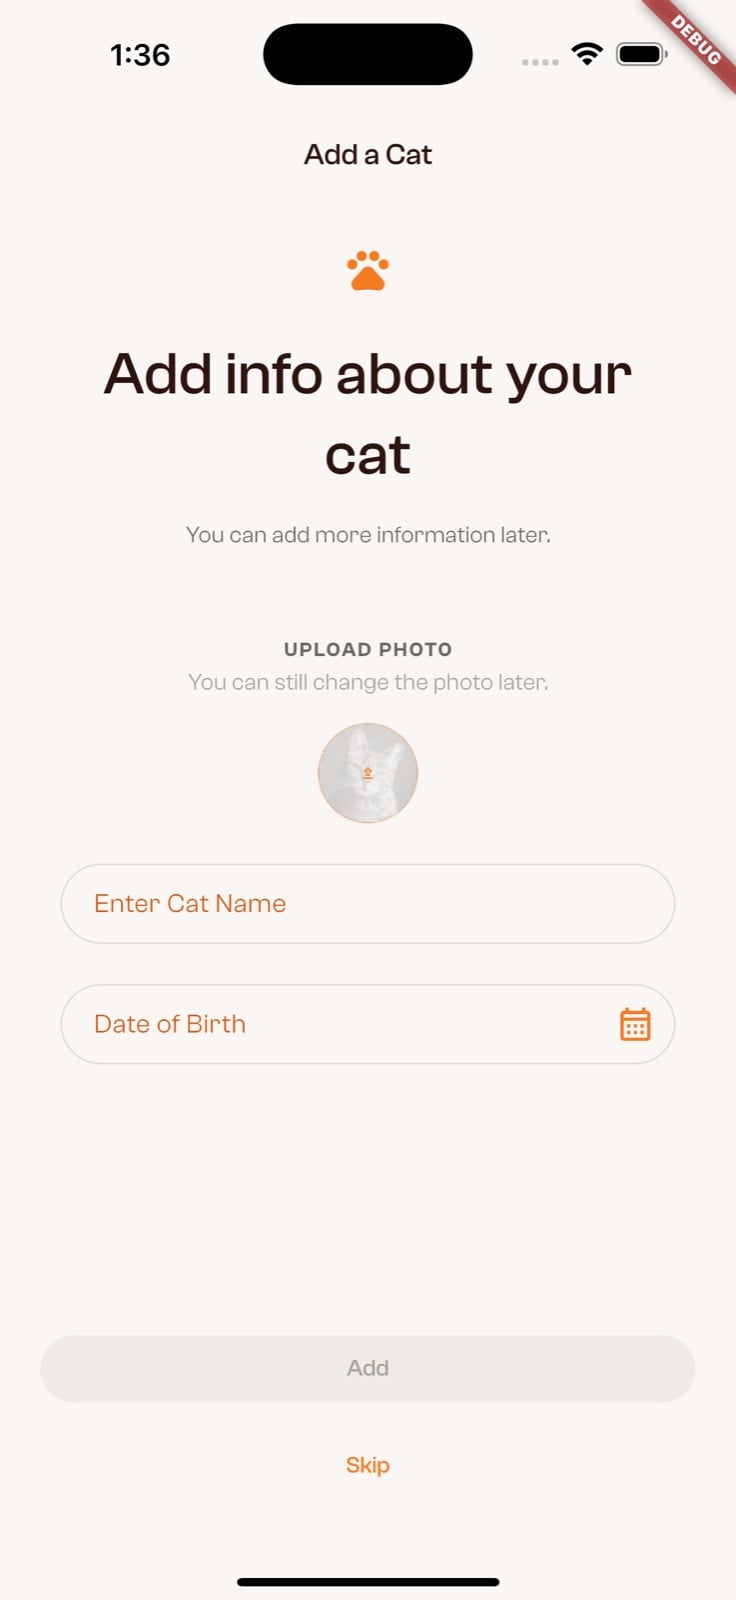
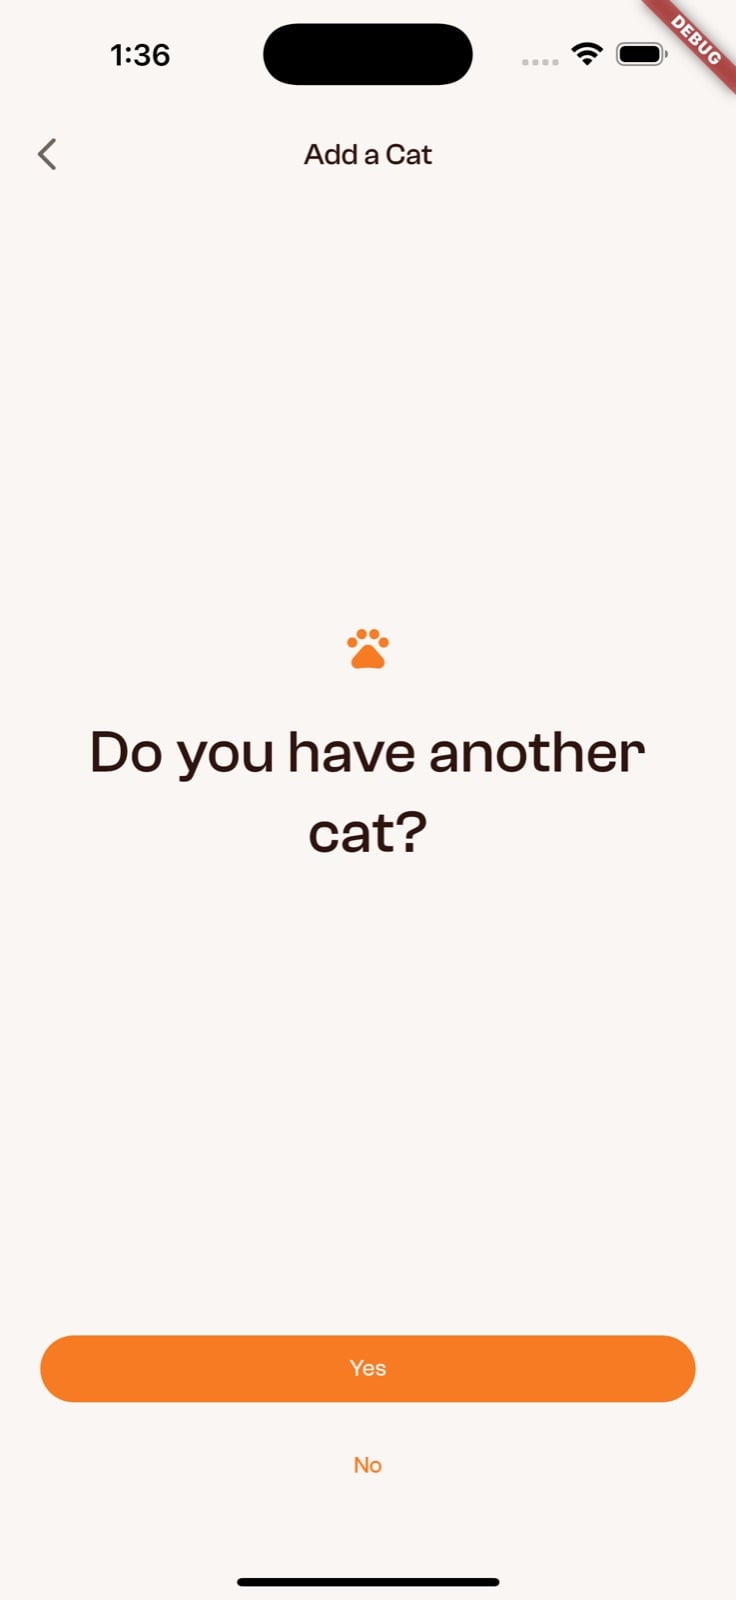
Finish personalizing Flappie. Voluntary data sharing can be changed at any time in the Privacy Center, and cat profiles can be added later.
5. Check the dashboard
Briefly check the device status, notifications, Collection, FlappieTV and Activity in the dashboard. If there is a connection error, follow the checks below.
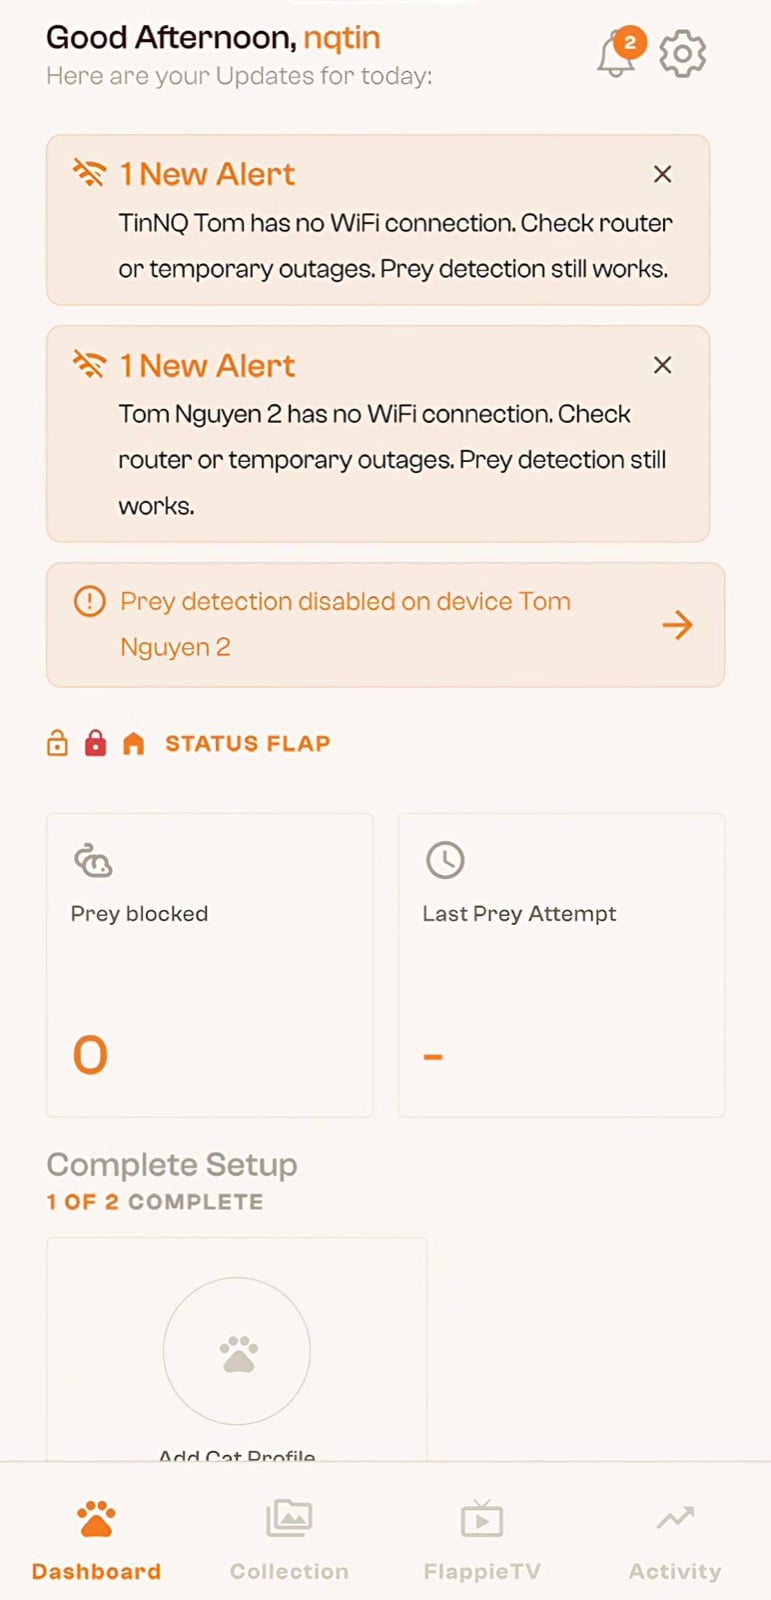
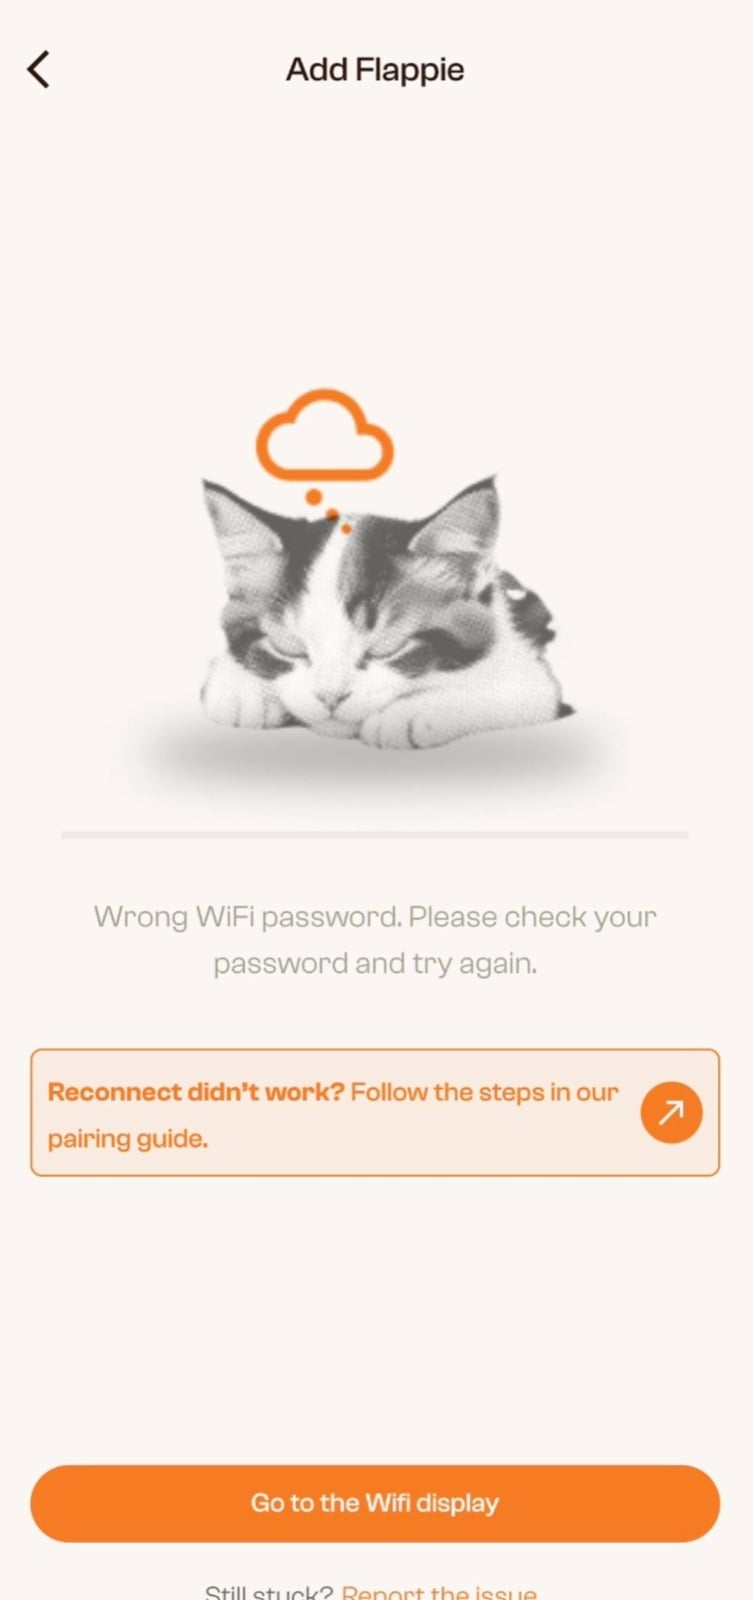
If the connection does not work
- Check the Wi-Fi name and password character by character.
- Confirm that it is a 2.4 GHz network.
- Enable Bluetooth and stay within a few metres of Flappie.
- Unplug Flappie, wait ten seconds, reconnect power and let it boot fully.
- Start pairing mode again and repeat setup.
Next: the first 4 days
Flappie learns its surroundings. Prey blocking intentionally remains off during this period.
What happens during the first 4 days →